Advertising: Settings | Setup Tapjoy
Importing Tapjoy Plugin
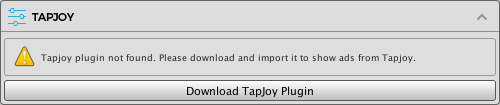
To show ads from Tapjoy you need to import the Tapjoy Unity Plugin. In the TAPJOY section, click the Download TapJoy Plugin button to to open the download page. Download the plugin and import it to your project.
Configuring Tapjoy
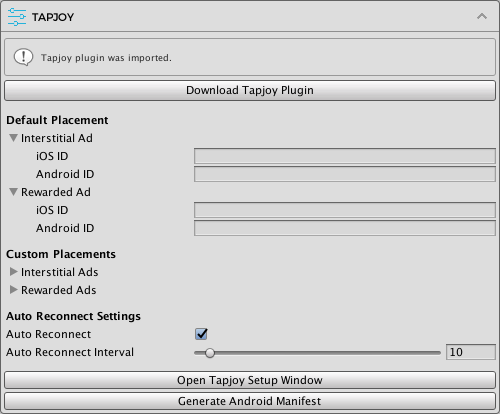
After importing the Tapjoy plugin, the TAPJOY section will be updated as below.
Before configuring Tapjoy placements in Easy Mobile settings, you have to create them on the Tapjoy dashboard. If you're not familiar with the process, follow the instruction here. Basically, you'll need to:
- Go to TapJoy dashboard and create a new app.
- Setup at least one virtual currency.
- Create some contents to show in your app.
- Create some placements and assign content for them.
Default Placement
Here you can configure the default placement for each platform. Note that in the ID fields you would enter the name of the placements created on the Tapjoy dashboard whose content is relevant to the corresponding ad type (interstitial, rewarded). You only need to provide placement names for the ad types you want to use, e.g. if you only use Tapjoy rewarded ads you can leave the interstitial ad fields empty.
Custom Placements
Here you can optionally enter the Tapjoy placement names associated with non-default placements to be used in your app. You can have an arbitrary number of custom placements and can use built-in placements or create new placements for your needs.
Auto Reconnect Settings
- Auto Reconnect: should we reconnect to the server automatically until connected. If you uncheck it, players might never be able to connect to the Tapjoy server if they opened your app when their device is offline.
- Auto Reconnect Interval: auto reconnect coroutine refresh rate.
Tapjoy Setup Interface
Click the Open TapJoy Setup Window button to open the Tapjoy's setup window (you can also navigate to the menu Window > Tapjoy and open it). A window will be opened as below.
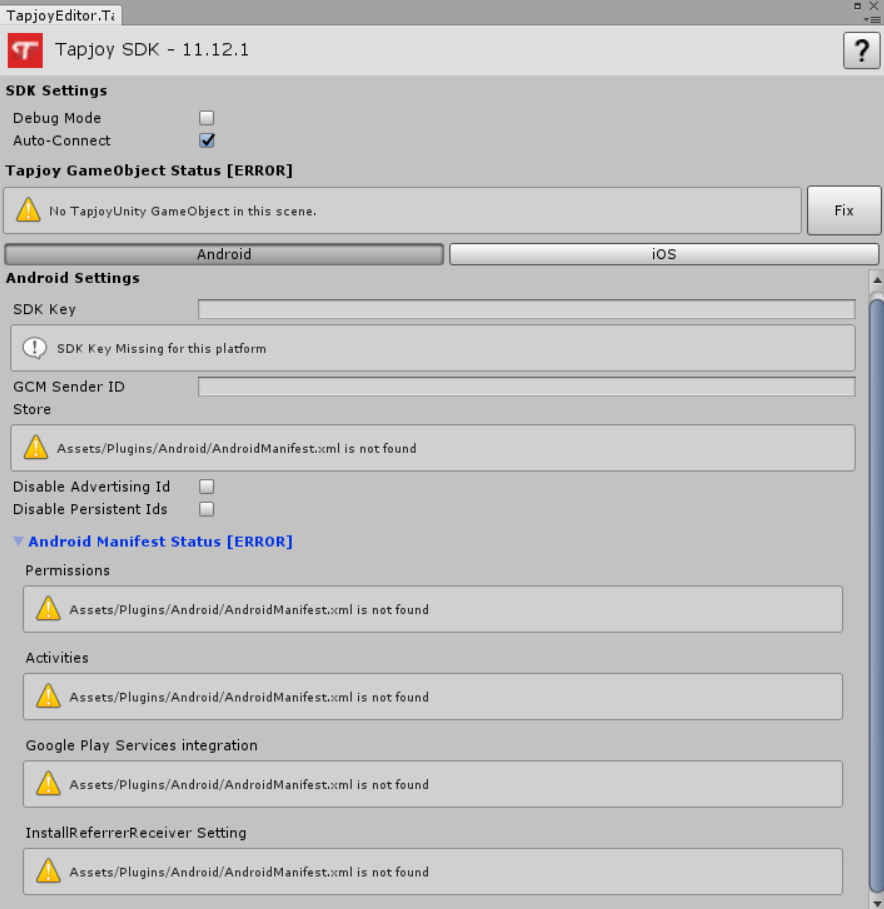
- Tapjoy requires a TapjoyUnity GameObject with some components attached to it. The _Fix _button right next to the "No TapjoyUnity GameObject in this scene" warning label can create that GameObject for you, make sure to add it in the scene that appears first in your game.
- Enter the SDK Key for each platform.
- Make sure the Auto-Connect field is checked.
More details about these settings can be found here.
Building Notes
Android
- Tapjoy needs Google Play Services library to work, but starting from version 11.10.1, the Tapjoy plugin for Unity no longer includes it in the package, so make sure to add it into your game (you can read about this here).
- You need to make sure your game has a valid AndroidManifest.xml placed under Assets/Plugins/Android (read more about it here).
- If there is no AndroidManifest.xml in that folder, you will see some "not found" warning labels like the image above. Simply click the Generate Android Manifest in the TAPJOY section, a valid file will be created automatically.
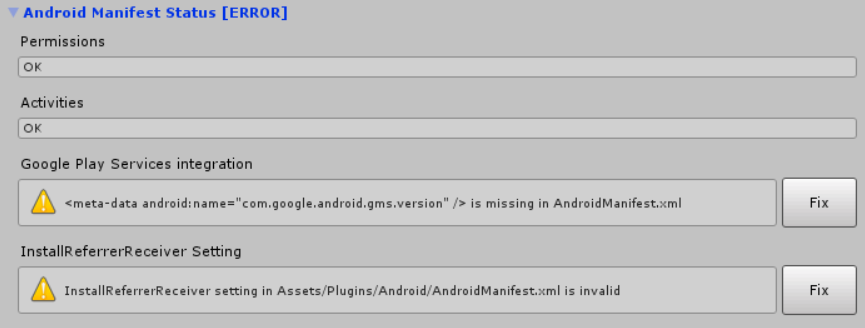
- If you already have a AndroidManifest in the folder, but some elements are missing, you can at them via Tapjoy's setup window. Click all the fix button there (see the image below) and Tapjoy will do the job automatically.
iOS
After exporting your project to XCode, add the following into your Info.plist file (read more about it here).
<key>NSAppTransportSecurity</key>
<dict>
  <!--To support localhost -->
  <key>NSAllowsLocalNetworking</key>
  <true/>
  <!--To continue to work for iOS 9 -->
  <key>NSAllowsArbitraryLoads</key>
  <true/>
</dict>