Advertising: Settings | Setup AdColony
Creating AdColony Apps and Zone Ids
To show ads from AdColony you need to create apps and ad zones in its clients portal. To access the clients portal, create an account and login to AdColony page.
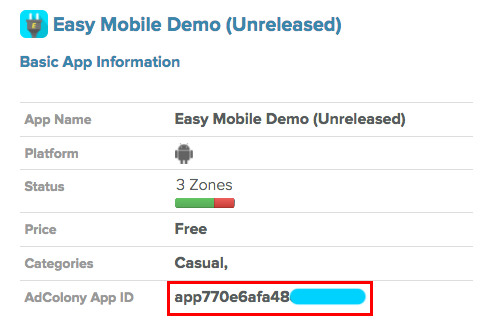
In the clients portal, select MONETIZATION tab, then select the Apps sub-tab and click the Setup New App button.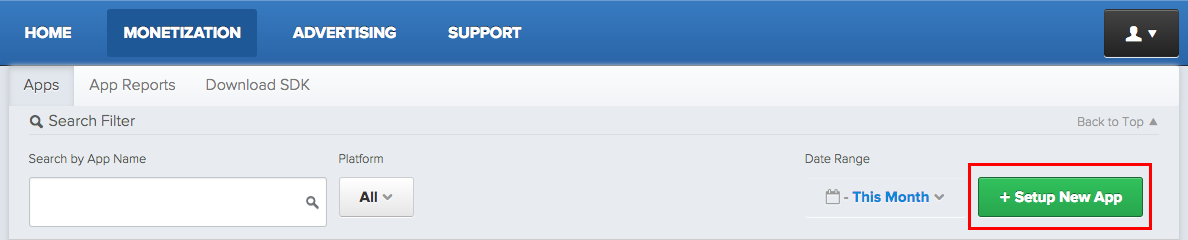 In the opened page enter the required information for your new app, e.g. app name, platform and location. You can also select the ad types that you would like to allow in your app. Hit Create when you're done, your app will be created and you'll be redirected back to the Apps page. Select your newly created app to reveal its information, which looks similar to the picture below. Note the AdColony App ID as we will use it later.
Now your app is ready, the next step is to create ad zones for it. Click the Setup New Ad Zone at the bottom of the app edit page to create a new ad zone.
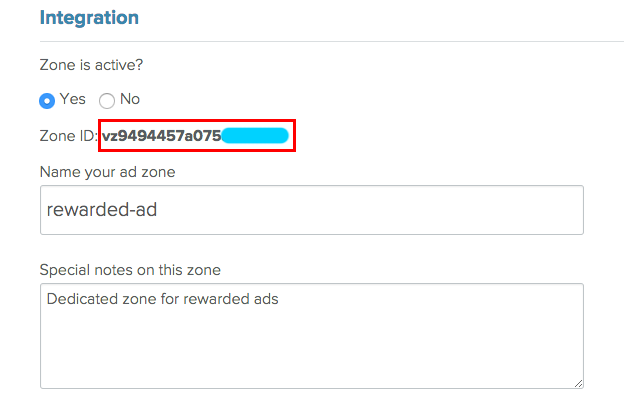
In the Integration section, give your ad zone a name, optional notes and set its as active. Note the Zone ID as we'll use it later.
The Zone ID will appear once you save your new ad zone.
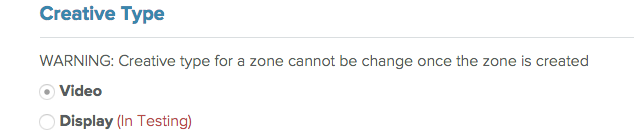
In the Creative Type section, select the Video option.
In the Zone Type section, select Preroll/Interstitial if you want to use this zone for interstitial video ads. Otherwise, select Value Exchange/V4VC to use it for rewarded ads.

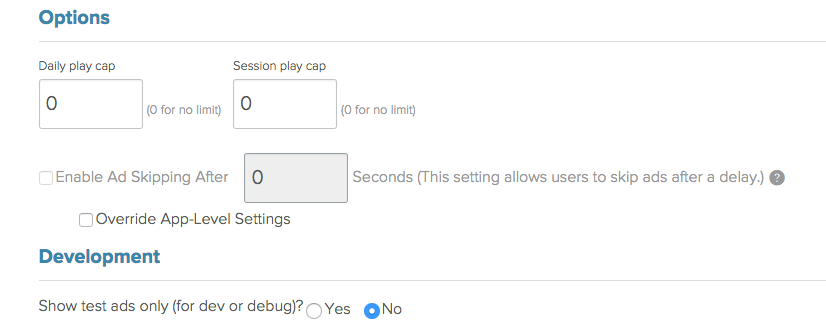
In the Options section, you can set a daily cap or a session cap to limit the number of ads served to a user per day or per session, respectively. In the Development section, you can choose to show test ads only (for debug purpose), don't forget to disable this option when your app is released.
Now your new ad zone is fully configured, click the Save button to save it. Repeat the process to create other ad zones to suit your needs. Typically, you'd want to have 2 ad zones, one for interstitial ads and one for rewarded ads. If you're targeting multiple platforms, create a new app for each platform, and for each app create the necessary ad zones.
Importing AdColony Plugin
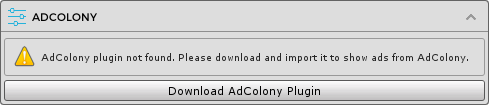
To have your Unity app work with AdColony you need to import the AdColony plugin for Unity. In the ADCOLONY section of the Advertising module, click the Download AdColony Plugin button to to open the download page. Download the plugin and import it to your project.
Configuring AdColony
After importing the AdColony plugin, the ADCOLONY section will be updated as below.
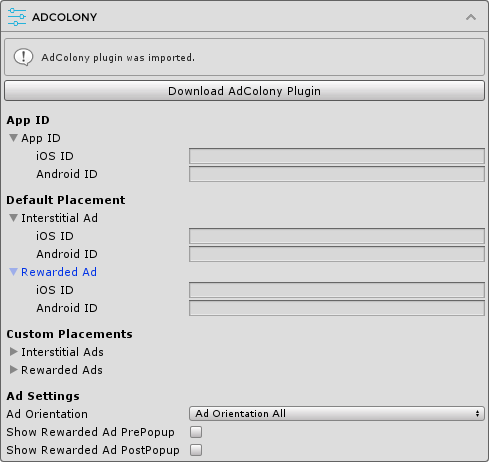
App ID
In this section you can enter the app ID created in the AdColony clients portal for each platform.
Default Placement
Here you can enter the ad IDs to be used with the default placement for each platform. These are the only ad IDs required if you are not using any custom placements in your app. Note that you only need to provide IDs for the ad types you want to use, e.g. if you only use AdColony interstitial ads you can leave the rewarded ad IDs empty.
Custom Placements
Here you can optionally enter the ad IDs associated with non-default ad placements to be used in your app. You can have an arbitrary number of custom placements and can use built-in placements or create new placements for your needs.
Ad Settings
This section includes other settings including:
- Ad Orientation: the default ad orientation of your app.
- Show Rewarded Ad PrePopup: whether to show a popup before a rewarded ad starts.
- Show Rewarded Ad PostPopup: whether to show a popup after a rewarded ad has finished.